How veneers are placed: a step-by-step process from consultation to bonding
Getting veneers solves many dental problems. Discolored teeth, cracks and chips in the enamel, gaps, and a large number of fillings in the front teeth are all indications for veneers. But most patients don't know what to expect during the process, whether getting veneers hurts, or how many times they'll need to visit the clinic.
At our clinic, getting veneers is a predictable, step-by-step process. Below, we'll walk through each stage and explain in simple terms how veneers are placed. This removes most of the worry even before the first visit.
How veneers are placed — the general sequence of the procedure
Veneers are thin shells placed over teeth to improve the look of a smile. These thin ceramic shells are bonded to the front surface of the tooth, wrapping slightly around the sides and covering the biting edge. How veneers are placed at Digital Dental Clinic:
- the first visit involves an examination and planning;
- tooth preparation for veneers;
- fabrication of the shells;
- try-in;
- bonding.
During the diagnostic stage, the doctor creates a photo protocol and analyzes the bite and facial proportions. The patient's preferences are taken into account when choosing the color and shape. Planning uses DSD technology — Digital Smile Design — to create a digital design of the future smile. The digital model serves as the basis for making temporary veneers so the patient can try them on and evaluate how they feel.
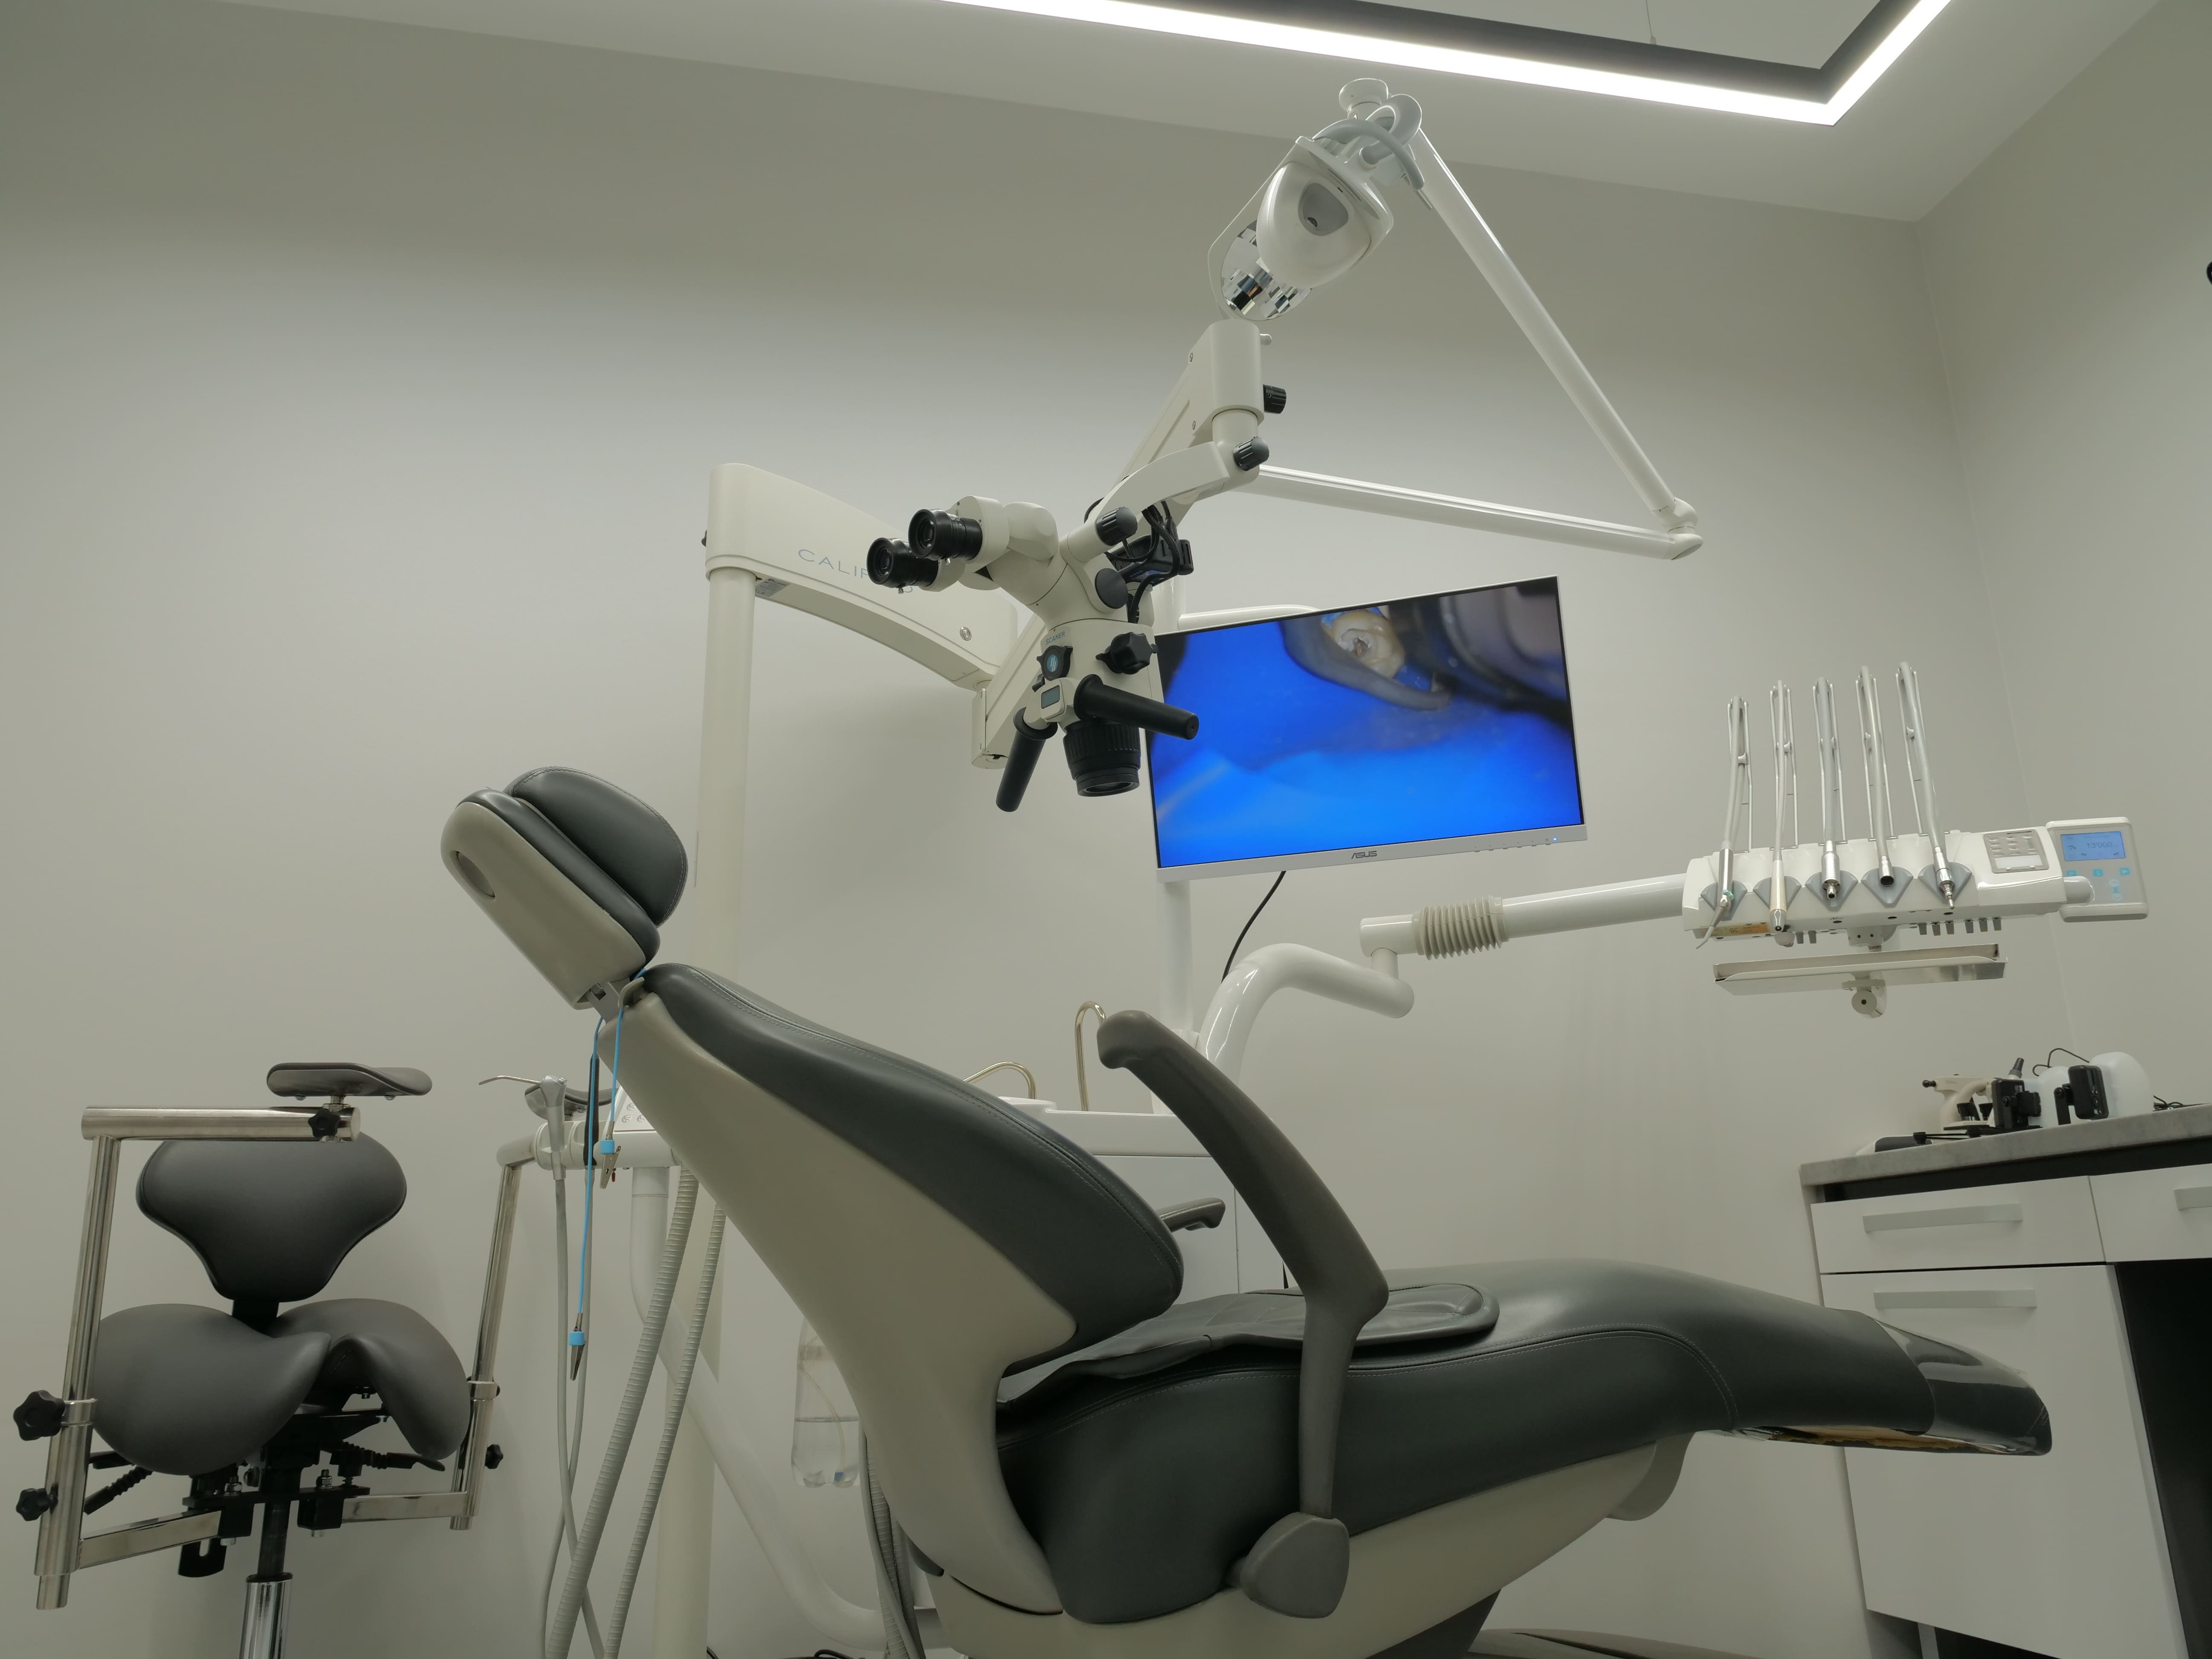
Tooth preparation for veneers is performed under a microscope to remove the smallest possible amount of enamel. The permanent veneers are fabricated based on a digital scan of the teeth and are also bonded under a microscope. The first and second visits involve examination and tooth preparation. Fabricating the shells takes 10–14 days. The veneers are bonded on the third visit.
Which teeth get veneers — indications and limitations
Which teeth get veneers? These are the front teeth (incisors and canines) in the upper and lower arches that are visible when speaking and smiling. Veneers are typically placed on 4 or 6 teeth in a row for a harmonious look and consistent color.
When veneers are a good option:
- enamel that can't be whitened due to medication use or fluorosis;
- uneven edges, chips, or cracks in the front teeth;
- diastemas — large gaps between teeth;
- neighboring teeth with different length or width;
- minor wear of the tooth edge.
Veneers can significantly improve a smile, adding harmony to the face. Ceramic shells can change the color and shape of teeth and visually even out the dental arch.
Contraindications include enamel that's too thin or fragile, bruxism (the habit of grinding teeth during sleep or clenching them tightly), and significant bite problems. If a tooth is more than half destroyed, a crown is recommended instead. Veneers can't be placed on teeth with untreated cavities or in the presence of gum disease.
How veneers are fitted — what's important to know before starting
Before starting the procedure, it's important to understand that getting veneers is irreversible. The shells last 10–15 years without changing color. Since a minimal amount of enamel is removed, the tooth will need protection going forward. Teeth with veneers shouldn't be overloaded, and it's best to avoid biting hard foods. It's important to follow all of the doctor's care recommendations for these micro-restorations.
Preparing teeth for veneers — what happens at this stage
The preparation process is divided into several stages:
- diagnostics;
- imaging;
- shade selection;
- discussion of shape and size.
Quality planning determines the final result more than any other stage. The overall planning concept takes both function and aesthetics into account. The digital design visualizes the shape, length, and proportions of the teeth in relation to facial features. The doctor performs professional cleaning, treats any cavities if needed, and replaces old fillings as necessary.
How teeth are shaved down for veneers — preparation and how critical it is
To ease patients' concerns, it's important to know how teeth are shaved down for veneers. At our clinic, only a minimal, thin layer of enamel is removed from the front surface of the tooth. This is necessary for a natural look. Ultra-thin lumineers can be placed without any tooth preparation at all.
Temporary veneers — why they're needed and what they look like
Fabricating ceramic shells takes 10–14 days. During this period, the prepared teeth are protected with temporary veneers. These temporary shells preserve the aesthetics of the smile while the patient gets used to wearing veneers.
Temporary shells are made from plastic or composite material. They have a natural color but look simpler than the permanent ones. They feel rougher and thicker to the touch but fully match the contour of the permanent shells.
The patient can get a feel for the shape of the future veneers, and if any discomfort arises, adjustments can be made before the permanent veneers are made.
Preparing teeth for veneers — the patient's most important question
During the consultation, the doctor will explain how veneers are placed and determine how much preparation is needed. This depends on the initial condition of the teeth and the type of veneer. Typically, a very thin layer is removed from the front surface of the tooth — from 0.3 mm to 0.7 mm. This is enough to keep the veneer from looking bulky and to give it a natural appearance.
Preparation is performed under anesthesia, so there is no pain at all. If ultra-thin veneers have been agreed upon, preparation can be skipped entirely.
Preparation for ceramic veneers vs. ultra-thin veneers — what's the difference
The difference between classic ceramic veneers and ultra-thin veneers lies in their thickness. For ceramic veneers, teeth are shaved down by 0.3–0.7 mm, while for ultra-thin veneers, the enamel layer removed is minimal or none at all.
What's the difference between classic and ultra-thin shells:
FeatureClassic veneersUltra-thin veneersThickness0.3–0.7 mm0.2–0.3 mmTooth preparationyes — so the tooth doesn't look bulkyno — gentle surface polishing is enoughFunctioncover yellowing and dark spots on the enamel, cracks, and gaps between teethimprove aesthetics for minor changes in natural enamel color; suitable for teeth that already have an ideal starting position
Which type of veneer to choose, and whether to place it with or without preparation, is decided by the doctor on a case-by-case basis.
Does getting veneers hurt — anesthesia and what patients feel
The process of getting veneers is painless for patients. Preparation is performed entirely under local anesthesia. A few minutes after the anesthetic is administered, nerve sensitivity in the treatment area is blocked. The patient may only feel touch and vibration during preparation.
While wearing temporary veneers, teeth may react moderately to temperature stimuli during the first few days. These temporary micro-restorations are easily removed without anesthesia. Anesthesia is also not used when bonding the permanent veneers.
Bonding veneers — the final stage of placement
At our clinic, veneers are bonded under a microscope. Using a rubber dam keeps the working field dry, which improves the quality of the bonding process. This matters, since bonding quality determines how long the veneers will last and how natural they'll look.
The bonding process follows this sequence:
- try-in;
- shade and fit correction;
- adhesive bonding;
- light-curing (polymerization);
- polishing.
First, the temporary veneers are removed and the tooth surface is cleaned of any remaining adhesive, then polished. The permanent veneers are tried in without bonding to check their shape and bite fit. Cement is then applied, cured with light, and the surface is polished.
How veneers are bonded with cement — technical details in plain language
To put it simply, here's how veneers are bonded. The tooth surface is coated with a special gel, and the inner side of the shell is treated with silane to promote adhesion. The veneers are bonded using a composite cement that hardens under light. The final step is thorough polishing and checking how the teeth come together when biting.
What patients feel after bonding — the first few days with veneers
During the adjustment period, gum sensitivity may appear in the first few days. Patients also need to get used to their new bite. It's possible to notice sensitivity to stimuli, a feeling that the teeth are foreign or bulkier than usual, and mild discomfort while chewing. All of this typically resolves within the first week.
Conclusion — getting veneers at DDC Clinic: from consultation to results
Getting veneers involves several predictable stages, each of which can and should be discussed with the doctor in advance. The outcome depends on the diagnostics, the precision of the preparation, and the quality of the bonding. Book a consultation at DDC Clinic today, and we'll help make your smile harmonious.